Once you learn how to make a media kit, you unlock a powerful way to communicate your value to brands and make money with sponsored posts. But if you’ve never seen any blogger media kit templates before, you may not know where to start. That’s why I have multiple free templates for you to try, including a blogger rate sheet so you can charge what you’re worth.
What Is A Media Kit?
A media kit helps brands and media outlets understand who you are and who you reach. They typically include statistics about your blog traffic and following, past partnerships with brands, and pricing information for your services.
Media kits are not the same as press kits. That’s because press kits help media outlets cover you and your brand for stories, so they are more interested in big-picture information about your experiences instead of your day-to-day content.
After making over half a million in brand deals for bloggers and viewing a variety of blog kits, I’m confident I can show you how to make a media kit that stands out!
Why Are Media Kits Important?
Media kits are important because they prove your value to potential sponsors and back it up with numbers.
The numbers don’t lie. Brands want to make data-driven decisions about sponsoring bloggers, and a media kit packages your data in one tidy place. In other words, it helps you walk the talk.
Having a media kit can also help you leverage low-paying or gifted sponsorships into higher-ticket brand deals and justify charging higher prices on your blogger rate sheet.
Even if you have a small site and following, you’ll be poised to lock in better brand deals with a blogger media kit that shows your worth.
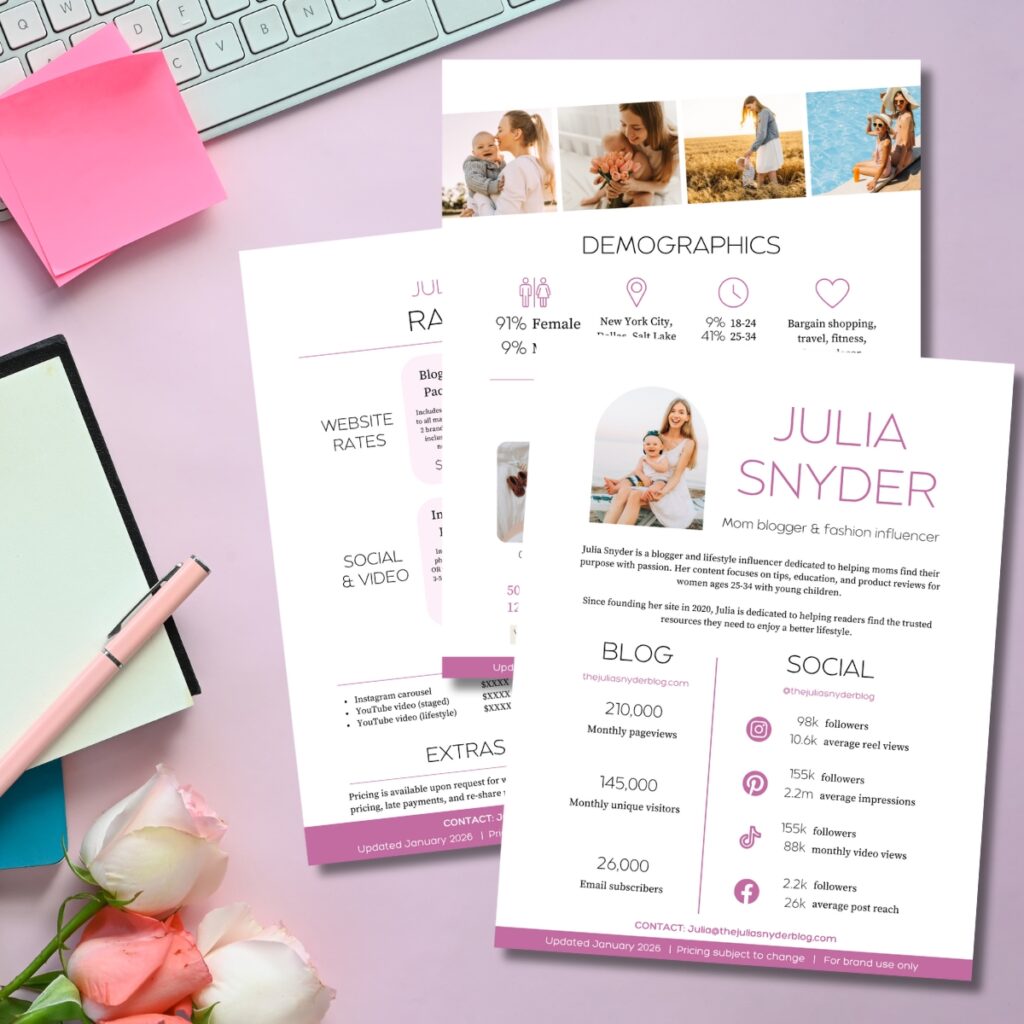

What To Include In A Media Kit
Here are the essentials to put on your blog media kit checklist:
- Your blog logo
- About section
- Overall reach
- Demographics
- Past partnerships
- Blogger rate sheet
- Any other need-to-know details
- Contact information
You may see examples with just one or two pages, which works fine for new bloggers.
However, if you have a history of working with brands already or have a larger following on more than one channel, consider extending to multiple pages. (You can go to 10 pages or more if the content is relevant, data-driven, and useful.)
1. Your blog logo
At minimum, a media kit for bloggers should have a logo on the first page. However, it’s fine to put it on the footer in the following pages. Also, include your blog URL somewhere prominent.
You can create a separate cover page with your logo and a title on it, or just include this detail on top of the first page.
No logo? No problem. Just make your name stand out!
2. About section
Include a few brief sentences about you, your blog, and who you serve (with a photo, if desired).
This is not the time to write long paragraphs (a good rule of thumb in general for blogger media kits), but a nod to your mission or how you started (and grew) is totally fine.
3. Overall reach
Include pageviews and unique visitors to your site, social follower counts, and reach for your socials (including email subscribers).
You can find pageviews and unique visitors in Google Analytics (or whatever analytics tool you prefer).
To find social reach and follower counts, look in the analytics sections of your various accounts – most of them, especially business accounts, will have these figures.
Email subscriber counts will populate in your email service platform.
If you have a smaller following, this is the perfect time to focus on engagement over follower counts. The numbers will prove that you have a captive audience despite a low follower count – an audience brands will still want to reach!
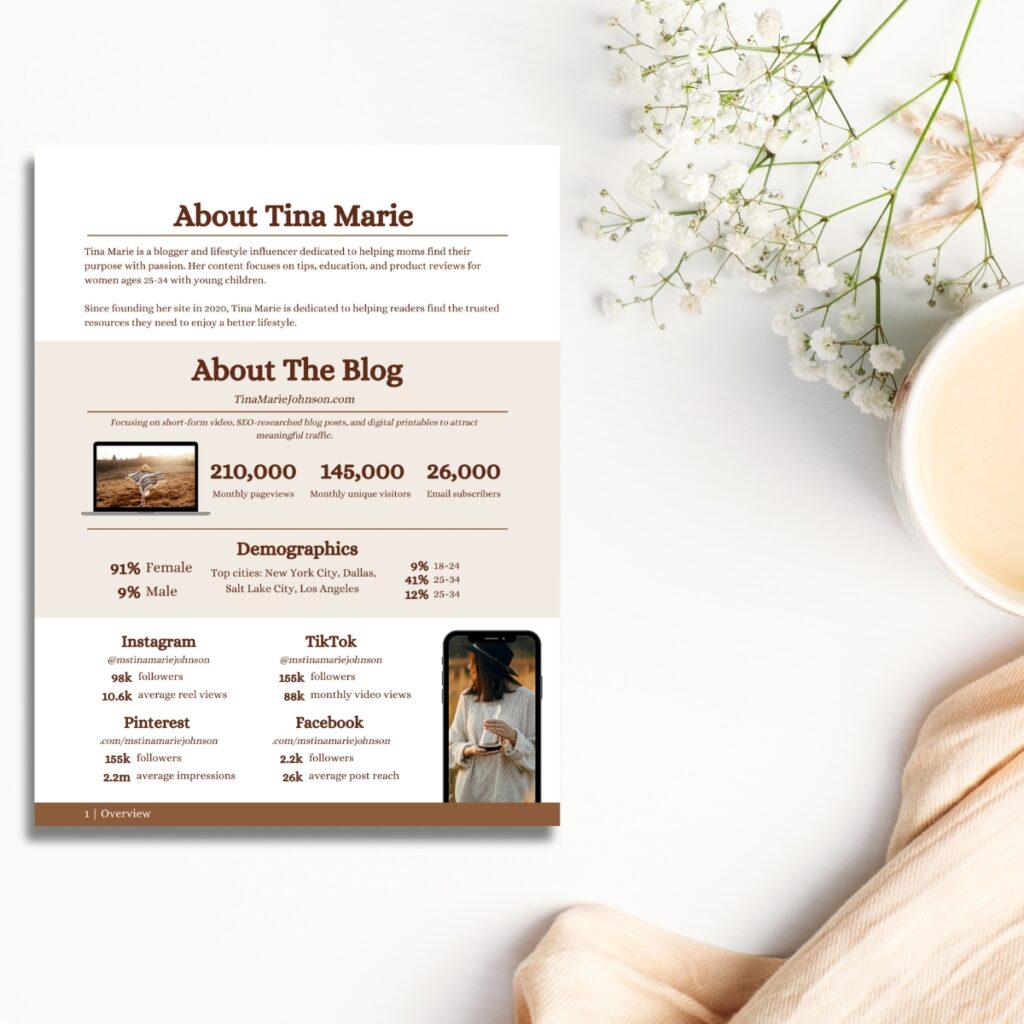

4. Demographics
Brands want to know if your readers look like potential customers. You can show them with information about your audience’s male/female ratio, age, top locations where they live, and interests.
You can find most of this information in Google Analytics.
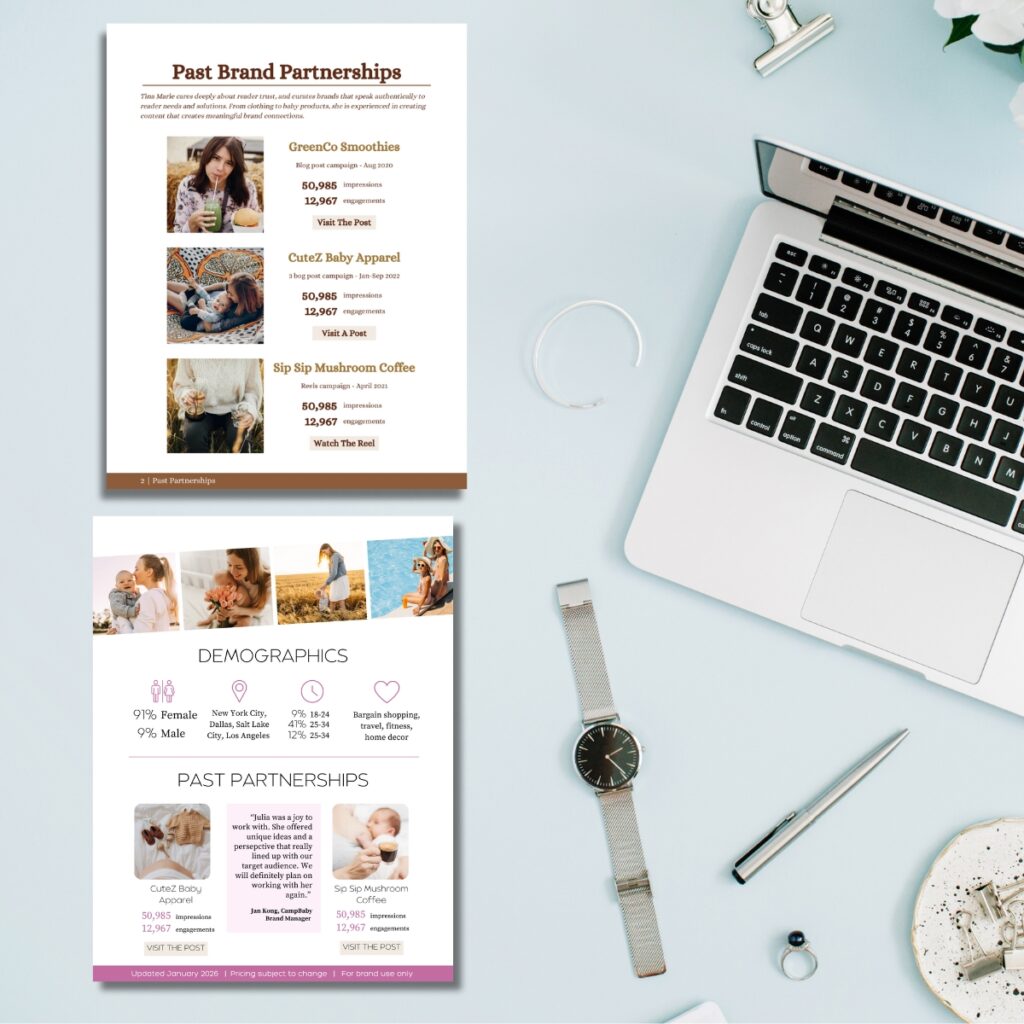
5. Past partnerships
If you already have experience working with brands, it’s time to talk about it! Drop their names and show results you got for them (with impressions and engagements).
This section doesn’t just have to talk about big paid deals. You can also include gifted or affiliate partnerships in this section.
Only include impressions (how many people saw the work) and engagements (clicks, likes, comments, shares) if they are substantial. Otherwise, it looks better to simply name the brands.
If you have direct testimonials from brands, this is also a good place to include them. (Or, this is the perfect time to reach out, re-connect, and ask for some!)
Finally, if you want to go above and beyond, you can include a brand case study that tells the brand’s reason for starting a partnership with you, the total engagement rate, any sales you referred, and conversion rates (sales referred divided by total engagements).
If you never worked with brands in any capacity, you can skip this section.
6. Blogger rate sheet
Your rate sheet (aka blogger rate card) should outline prices for the services you provide.
Blogger media kits should definitely include prices for a sponsored blog post, but if you have other social media channels or an email list, you can offer posts to these platforms as well.
Other influencers may take their offerings a step further with deliverables like:
- Video
- Giveaways
- Sidebar ads
- Dedicated promotional emails
- Product reviews
- Press trips
- Branded photography
You can provide a la carte options, or package them together for a higher rate that would still cost less than getting each deliverable individually. Either way, providing lots of options will make brands more likely to pick something that fits their budget.
To get the most out of every brand deal, I recommend providing blogger rates after you get a feel for the brand’s size and budget. You can usually charge on the higher end of your range for large brands (who have larger budgets), and on the lower end for smaller brands.
To streamline the process, you can save a higher-rate version of your kit and a lower-rate one, so you always have a ready-to-send option when brands ask for pricing.
Two of my three media kit templates offer detachable rate sheets, so you can wait to send them until you’re ready to negotiate pricing.
Not sure how much to charge or what your price range is for sponsored posts? Try my blog post rate calculator.

7. Any other need-to-know details
Do you charge extra for exclusivity, late payments, rush fees, whitelisting, or rights to republish your photos, videos, or blog content? (Hint: You should!) It helps to offer a section for this.
Most blogger media kit examples miss this point, which means you could miss out on a lot of extra money.
Brands will rarely ask for these details directly, but if they see that you offer them, they may be more likely to include them in your deal.
8. Contact information
To wrap up, include a page or section at the end of your bloggers media kit with information on how to reach you.
No need to complicate it – an email address is enough for brands to contact you.
How To Make A Media Kit
Ready to make your media kit design? Start by gathering all the data from the list above. You may not realize how much space you need for each section until you collect what goes in a media kit.
Then, you have two options: Make a kit yourself, or use a blogger media kit template.
How to make a media kit from scratch
Now that you know what to include in a blog media kit, you’ll need a design software that can organize it neatly.
I prefer Canva because of its versatility (and you can get great results with a free account), but other programs such as Photoshop will work if you have previous design experience.
With so much robust design software available, don’t make your media kit in a program like Microsoft Word. You’ll get a much more up-to-date look with an option like Canva.
You have a few popular options for sizing:
- 8.5” by 11” – A standard, generally accepted media kit PDF size in North America
- A4 sizing (21 by 29.7 cm) – Generally used outside of North America
- Slide deck format (1920 by 1080 px) – Less popular, but useful if your blog focuses on great photography
Then, simply add your information in a visually appealing way based on the eight points above.
Stick with three fonts max and a small palette of colors that match your brand. Brand managers will scan for the information they need, so format it in an easy-to-read way.
You can include multiple categories on the same page. Just be sure to space things out enough so that they’re legible (size 12 font or higher, in most cases) and easy to scan.

How To Use A Media Kit Template
A blogger media kit template can save you hours of time, even if you have design skills. If you don’t know how brands want to see your information, a template can help you with a plug-and-play format.
You can find a LOT of blogger media kit templates online. Popular places include Etsy, other blogs, and Canva. Each one has their benefits and drawbacks.
Etsy media kits have beautiful designs, but the price range varies widely and some can be very expensive. Plus, I have never seen a media kit on Etsy designed by anyone with brand experience, so it’s hard for newbies to judge their quality.
Other bloggers design media kits, and they’re a great way to support other blogs. Plus, these bloggers usually have some level of brand experience that influences how they designed the kit. That said, they still cost money, and offer limited options.
Canva does offer free media kit templates, but in my experience they include a lot of fluff that brands don’t need or designs that don’t fit all the right information.
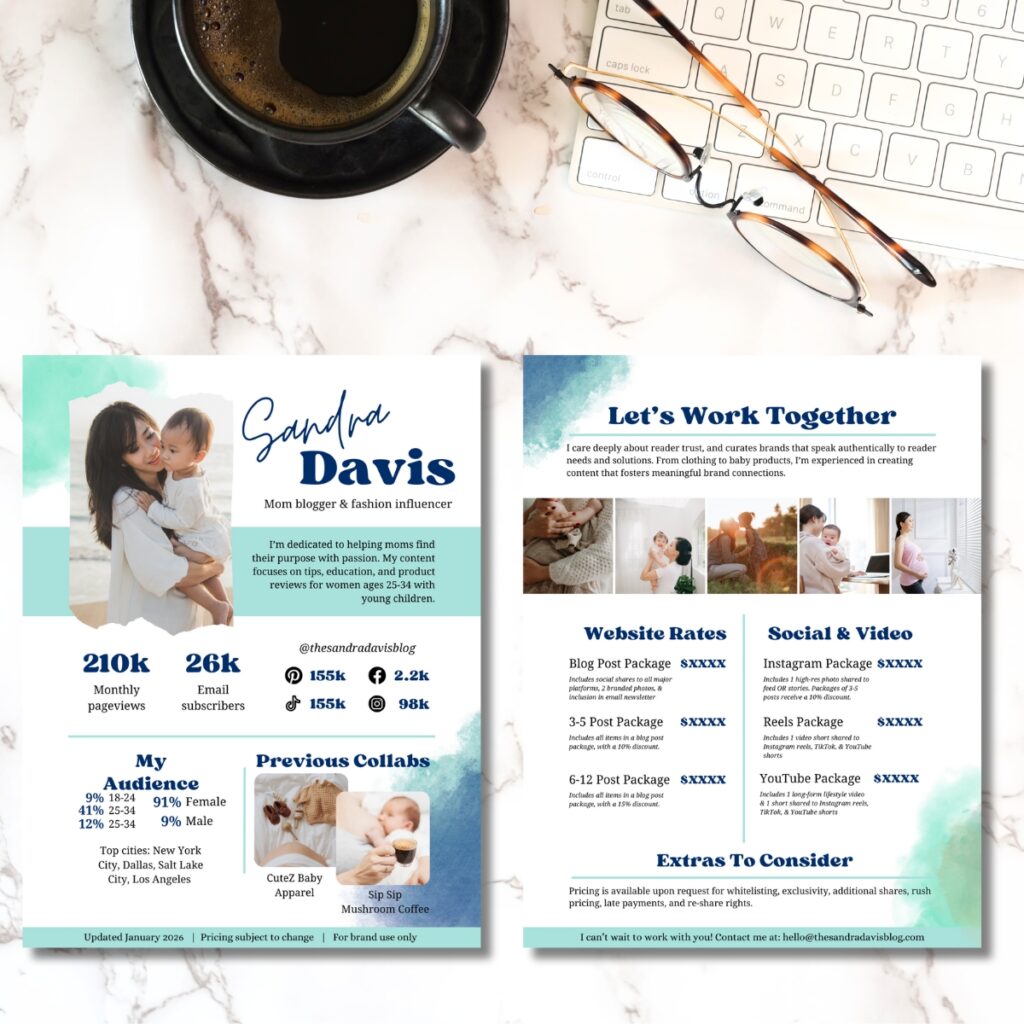
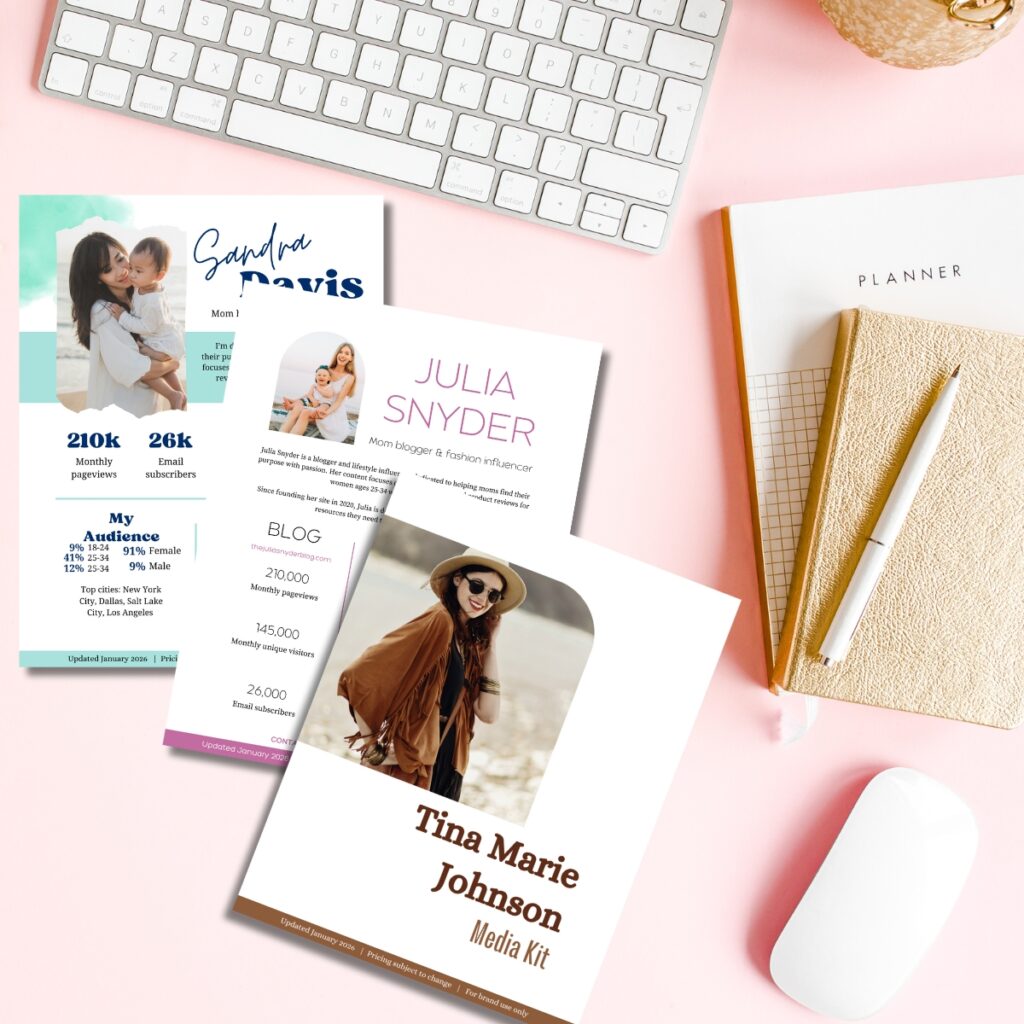
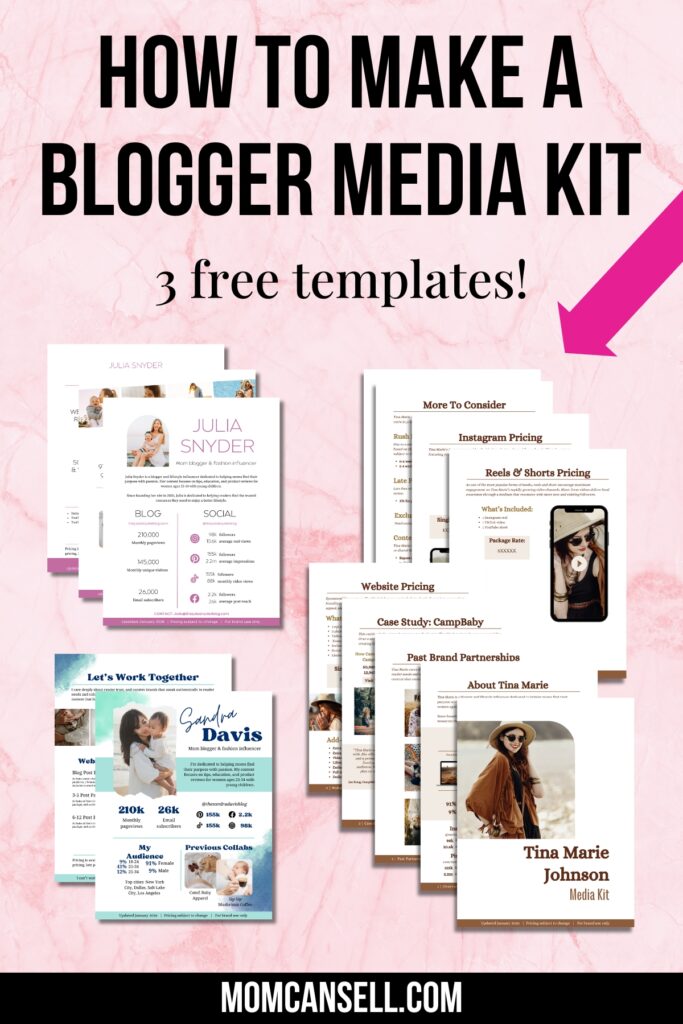
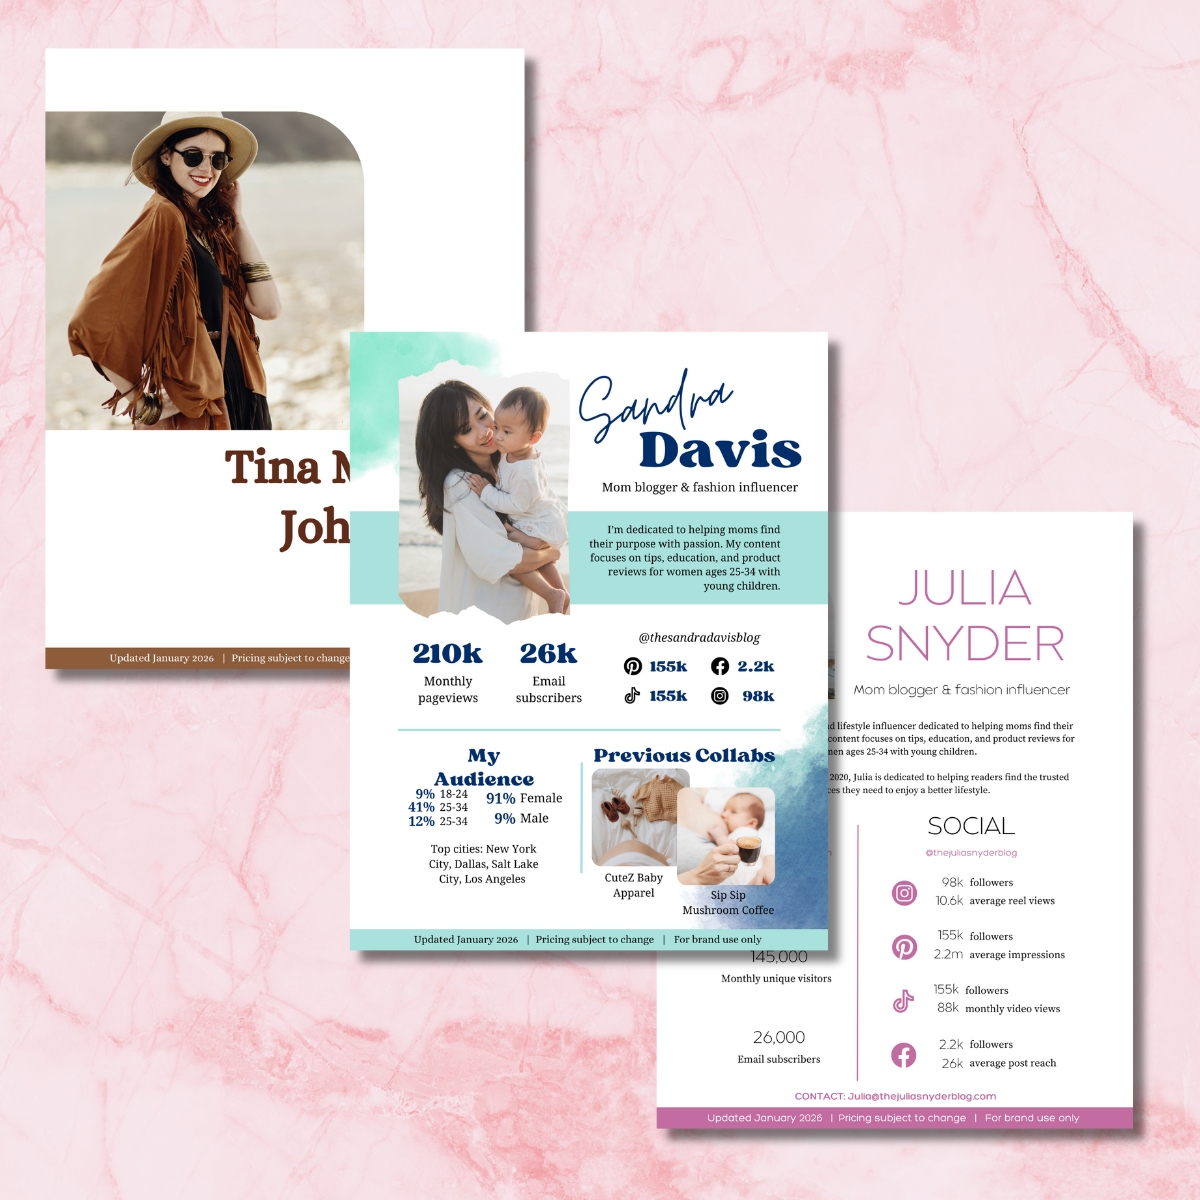
So, if you need a Canva media kit that includes the right information (whether you’re a new blogger or established one with past brand experiences), you might like the 3 free blogger media kit templates I designed here.
Why 3 templates? Because no two bloggers are alike – so whether you have a little or a lot of experience (or something in between), you can find a customizable design that fits you. And even if you don’t… these media kit examples are free!

Where To Share Your Media Kit
Share your kit with brands early in your conversations with them so they can get to know your blog quickly.
A line in your pitch email like, “If you’re interested, I’d be happy to send over my media kit which outlines my reach, followers, and how I work with brands” works fine.
Don’t share it in your initial emails with brands. Wait until you confirm they want to see it. The brand conversation is a bit like a dance and you don’t want to look too pushy.
Also, avoid sharing your media kit publicly on your blog or “Work With Me” page. That’s because each sponsorship is unique and you don’t want to provide blanket pricing that might scare prospects away. You’ll need time to impress and finesse the conversation.
Now that you know how to make a media kit and access the best free media kit template for your experience level, it’s time to fill it in and make an impression on brands! I can’t wait to hear the results.


This is great information and very thorough! Thanks for sharing!